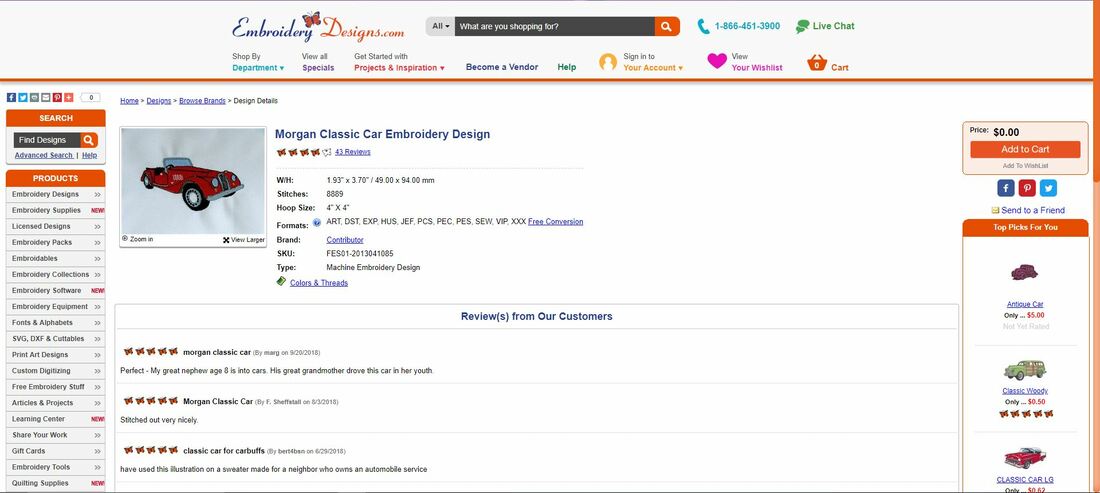
Website Where I Found the Design
|
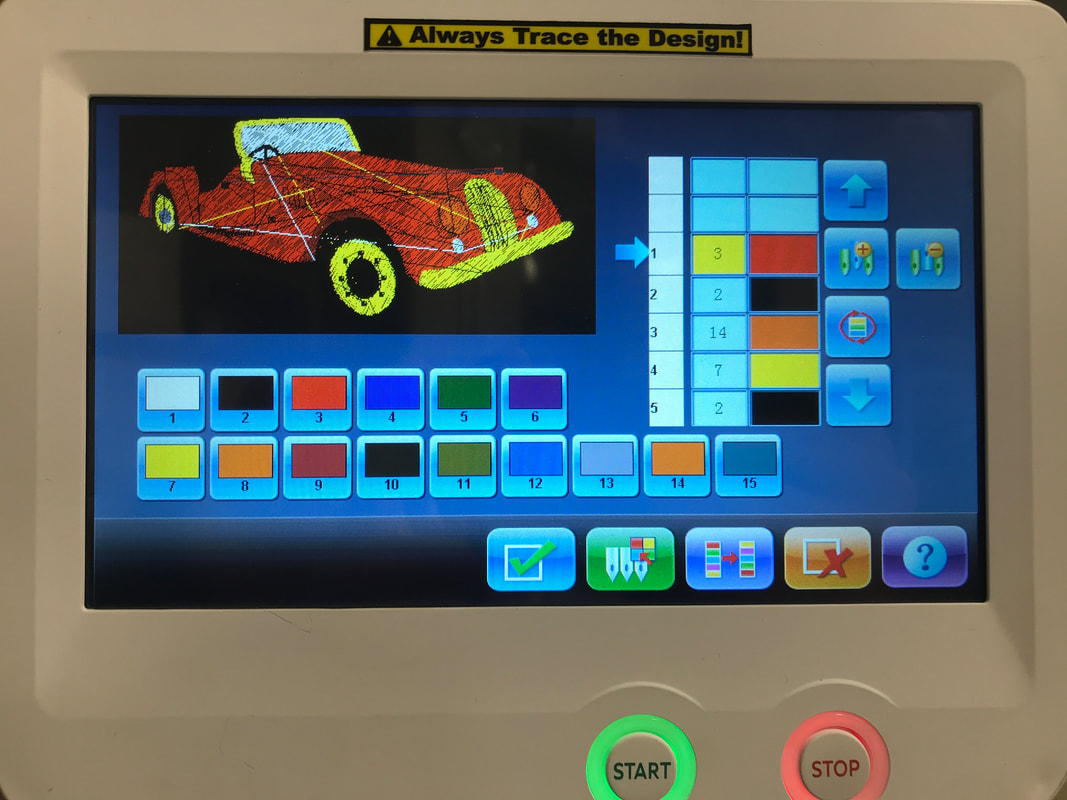
Embroidery Machine with Correct Colors
|
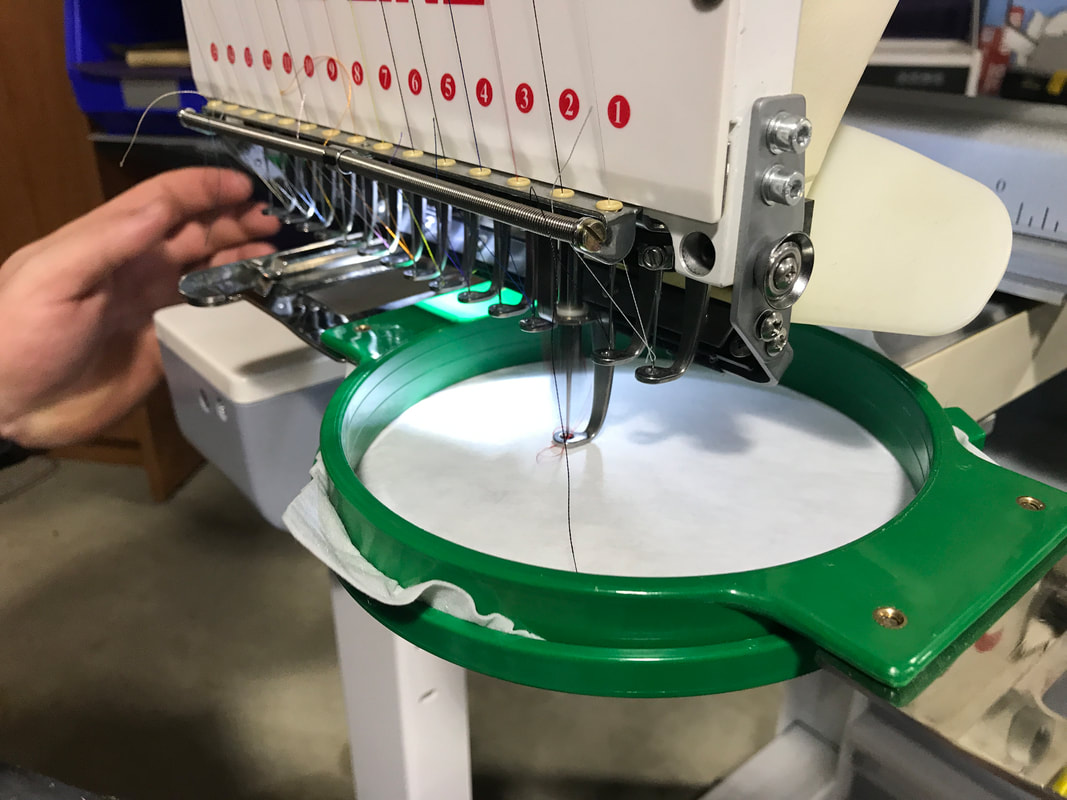
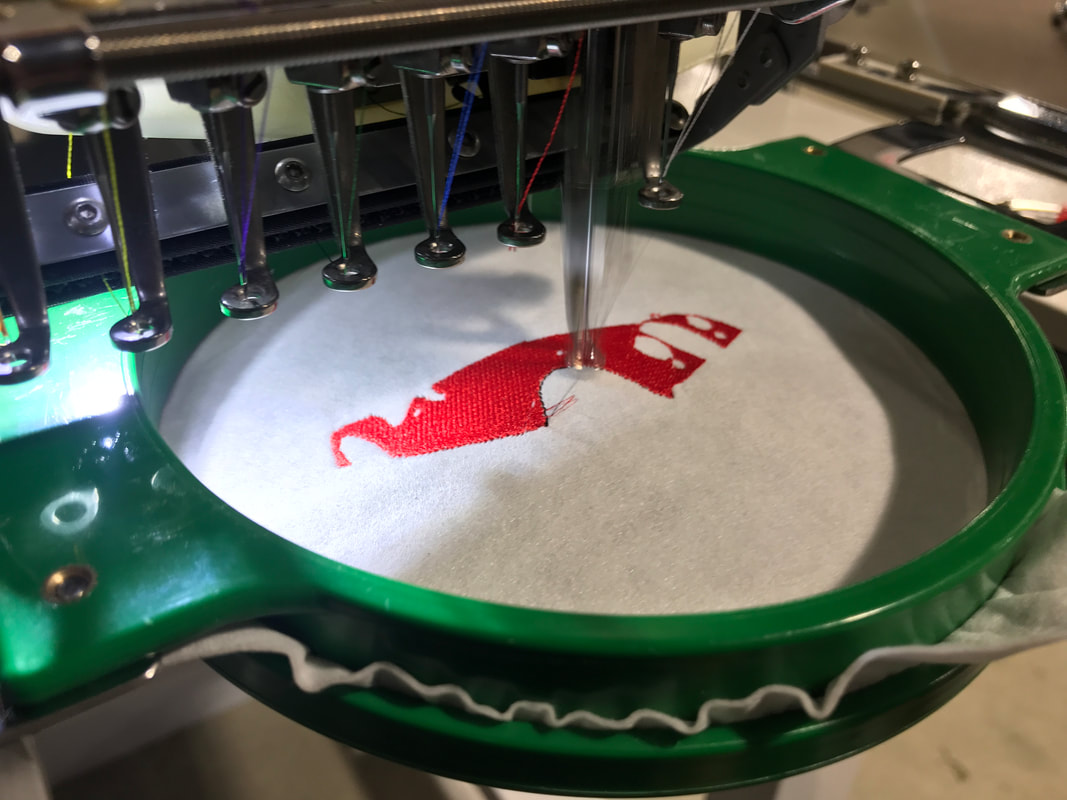
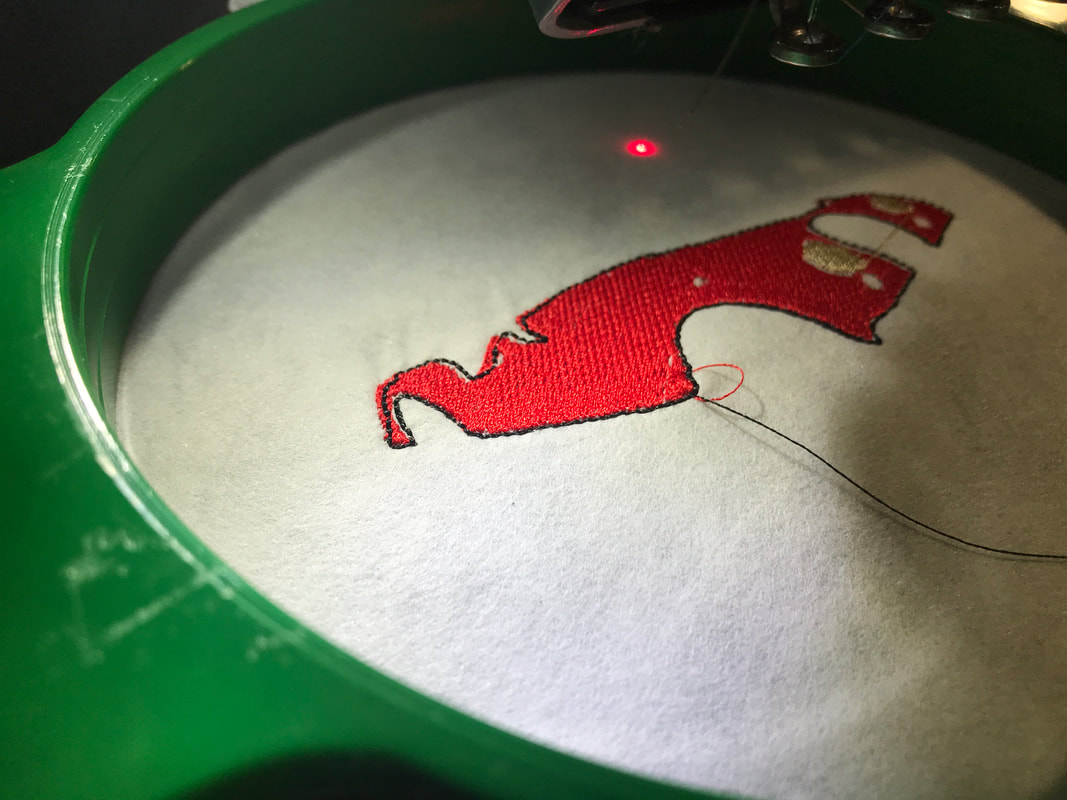
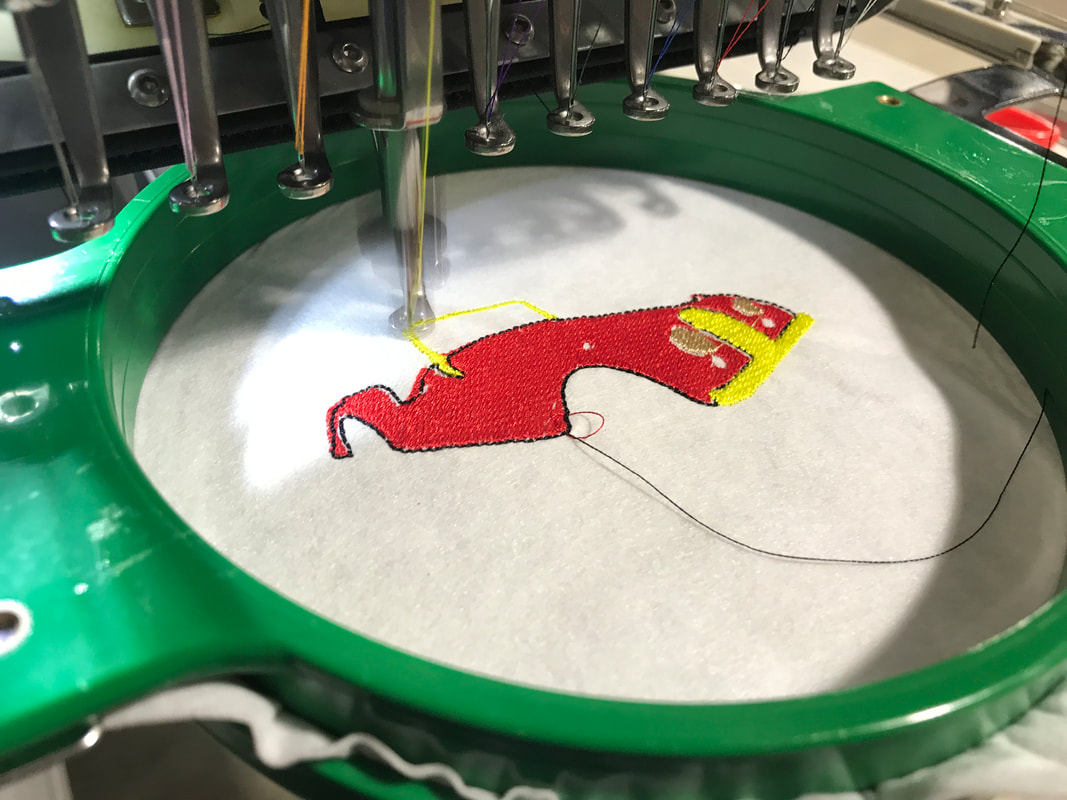
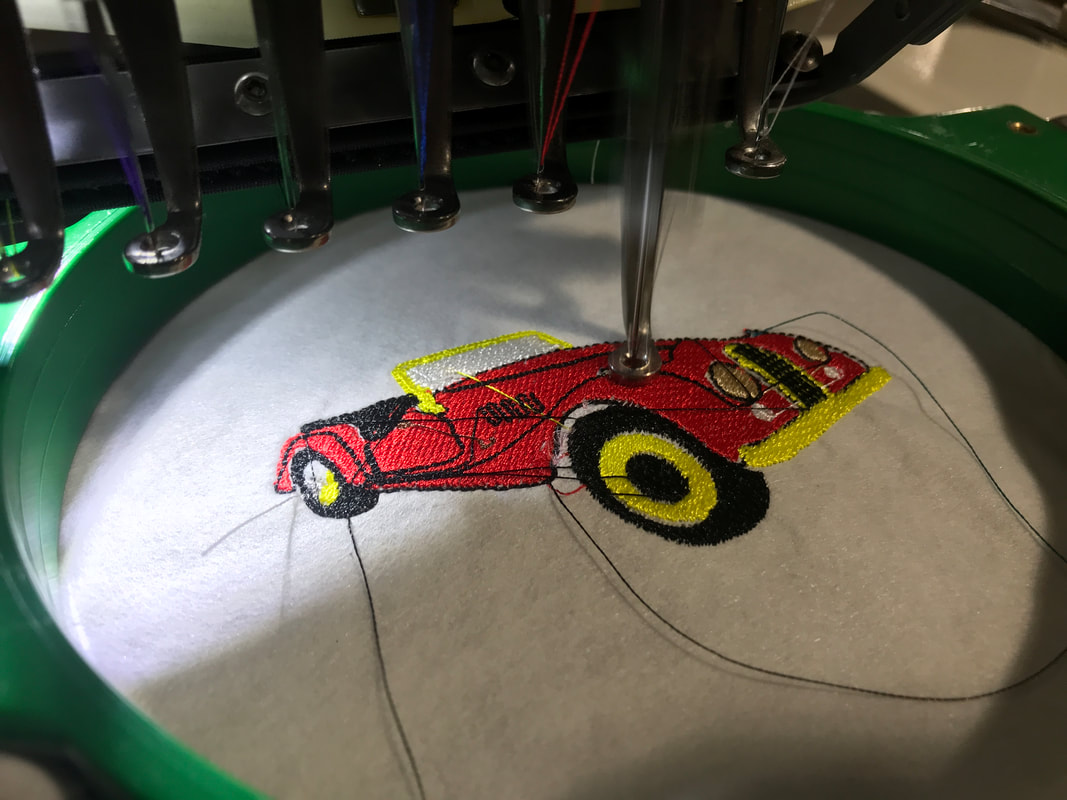
Photos of Design Being Embroidered
|
Explanation of Each Step
- Hooping- Place the backing material over the proper sized hoop with the two paddles on the sides and place the small hoop over the two to secure the backing material down.
- Loading design- Insert the usb stick into the port and then on screen; press the three flower icon, then the floppy disc, then the usb drive, and then final press your file, and press the the file button.
- Setting up the colors- Each color has a number and you select a color for each number and then your design has colors.
- Trace- The design gets traced so that we know that the needles will not hit the hoop when it is embroidered. To trace the design, press the rectangle button in the upper right and you will see your design inside the hoop. Then, press the outline check and the machine will trace it on the hoop.
- Embroidering- Once the setup is complete, you press the green button and it will start. The machine moves the needle around and stitches in precise locations.
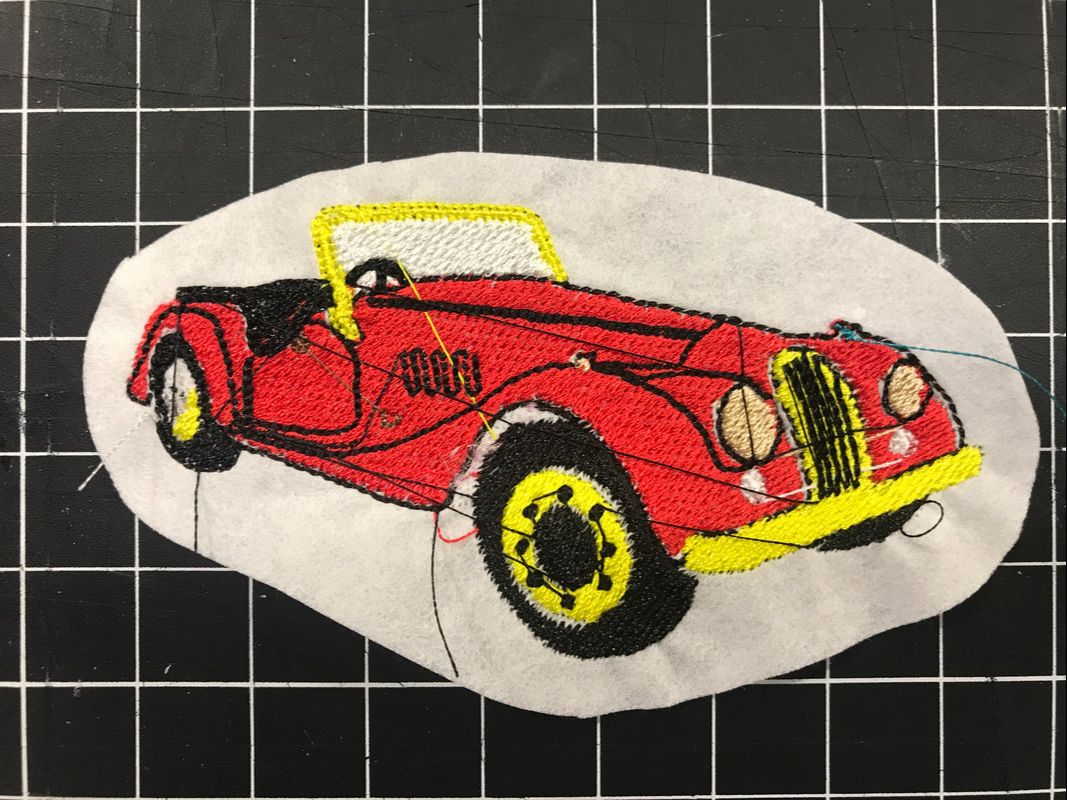
Picture of Final Design
|
Summary
In this project, I learned a lot about how embroidery works. It was interesting learning about the machines and how to set up each file. I also enjoyed learning about how much stuff is actually embroidered in our lives. After this unit, I saw tons of things that had been embroidered that I had never thought about before. In conclusion, this project taught me a lot about the process of embroidery and the numerous applications in our world.
